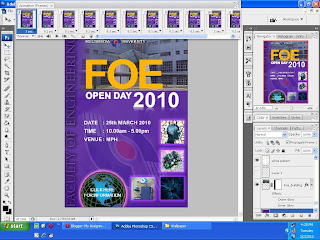
Here are my steps for creating E-wallpaper for FOE open day. First of all, I gathered related pictures from the internet. Then I decide what to put and where to put the words and pictures.
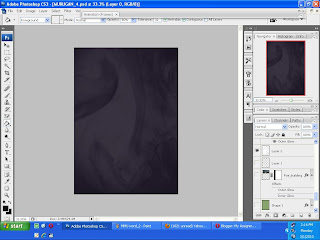
I started with plain white A4 size sheet. Then I created a layer. On that layer I draw random pattern by using Brush>> smoke tool.
* The black background color is just to show the white pattern.
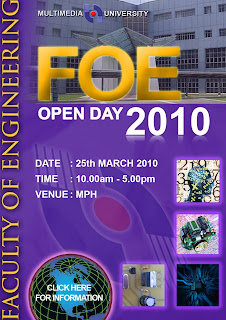
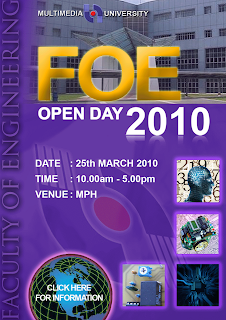
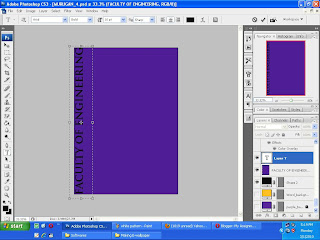
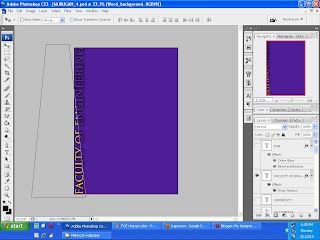
After that, I created a new layer with rectangle shape and gave purple color. I place text "Faculty of engineering" vertically at the left side of the wallpaper. Next I choose the text and the rectangle shape and rasterized it to merge them both.
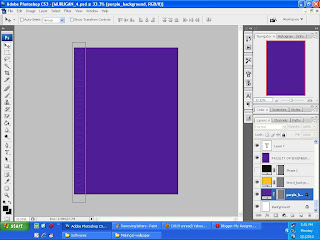
In the following step I use the 'magic eraser tool' to delete the text.
Then I place a rectangular purple shape behind the text.
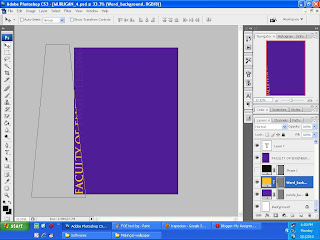
Next I created another rectangular shape. I use the 'Distort' option to change it to trapezium shape and filled it with orange color. This trapezium is used to create animation. The color will change from purple to orange when the trapezium is moved from left to right.
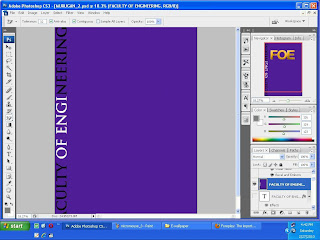
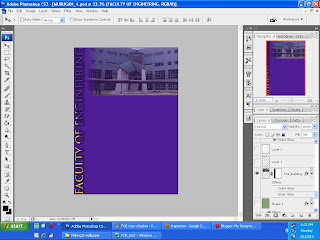
After that I created another exactly same text and applied 'Drop shadow' effect from 'Blending options'. I place the text above the previous text.
In the following step, I place FOE building picture at the top right hand sight of the wallpaper. I applied masking to create gradient effect to the left side of the picture.
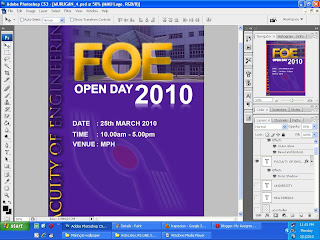
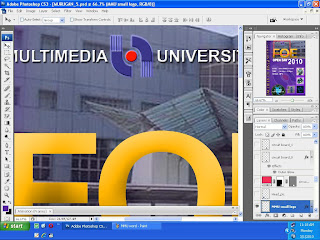
Then I added word "FOE". As for the word I gave light orange and applied 'Outer Glow' and 'Bevel and Emboss' effects.

Next I added text "Open day" , year "2010" and details such as date, time and venue.
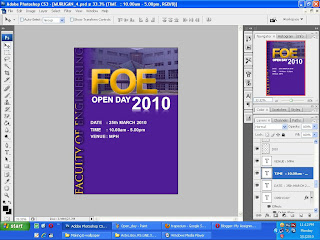
As for the reflection of "2010", I made duplicate of "2010" and place it directly below the previous "2010". Then I use the eraser tool, reduce the hardness to '20' and deleted half portion while holding down ''Shift" key. This will cause the half portion of the "2010" reflection to be deleted in straight line.

As for MMU logo, I removed the white background color using 'Magic eraser tool'.
Next, I copied the MMU logo using 'marquee' tool and place it on the wallpaper.
Then I use the distort tool to change the orientation of the logo.
After that I reduce the opacity and added 'Outer Glow'.

Later I added text "Multimedia" and "University" at the top of the wallpaper with some space between them to make room for MMU logo.
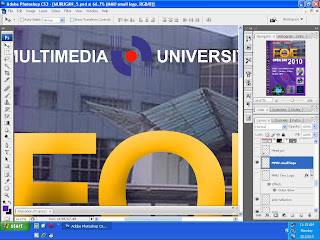
I added 'Drop shadow' and 'Bevel and Emboss' effects to the texts. Then I place the same MMU logo used previously and added 'Drop shadow' and 'Bevel and Emboss' effects to it.
Now comes the part where I am going to explain methods I use to edit pictures seen on the wallpaper.
The "Human Head" picture is obtain from the internet.
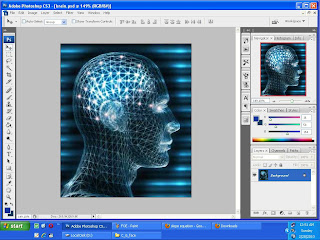
I remove the background color using 'Magic eraser' tool.
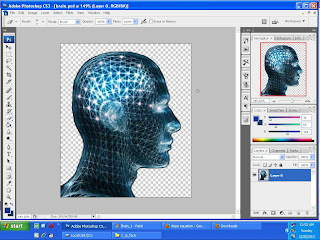
Then using marquee tool I copied picture of numbers obtain from the internet.
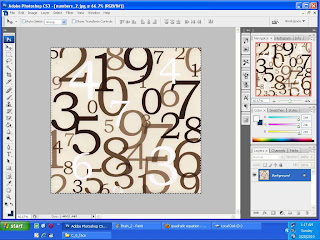
I place the picture as background for the "Human Head". Then I added text of mathematical symbols and equations.
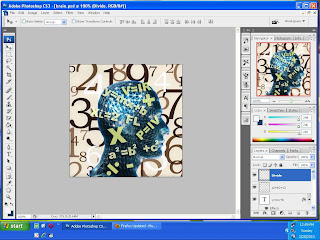
I made animation using the animation option under the window. The mathematical symbols and equations are made to appear gradually by varying the opacity at each frames.
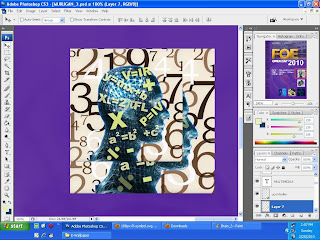
Next, I use option export >> render video to create individual pictures. Each of this pictures is placed in different frames of the wallpaper.

Then I created frame like effect around the picture by applying 'Outer glow' effect.

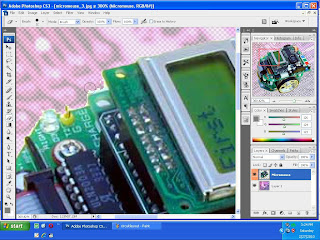
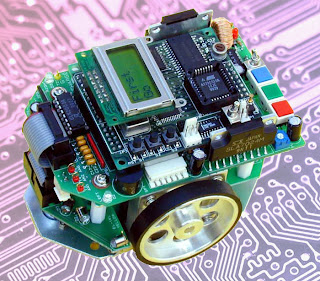
The following is picture of a Robot. I remove the white background using 'magic eraser' tool.
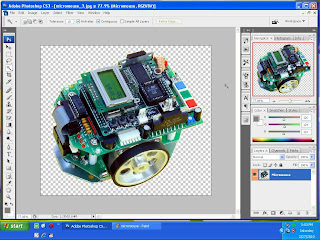
After that, I copied the image below and place it as background for the robot. I reduce the opacity of the background image.
Then I refine the edges using eraser tool of the robot picture to make it look smoother.
This is the final result.
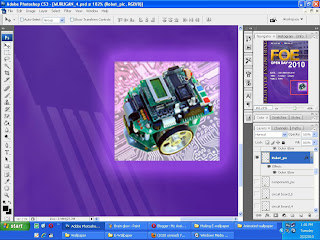
Then I created frame like effect around the picture by applying 'Outer glow' effect.
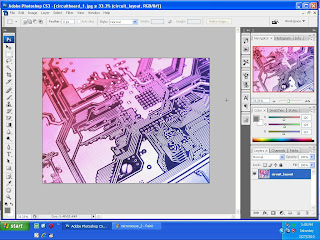
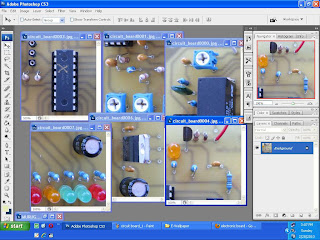
Next is the picture of a microcontroller.
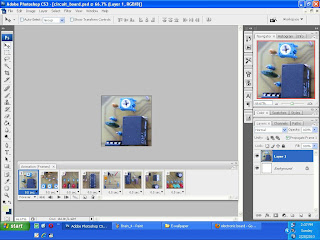
As for the picture of the components on the circuit board, I created a plain 3x3 inch canvas. Then I copied a circuit board picture and place it over the canvas.
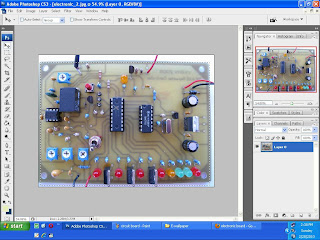
I created animation by moving the picture to different position using the 'Move' tool at different frames.
Next, I use option, export >> render video to create individual pictures. Each of this pictures is placed in different frames of the wallpaper.
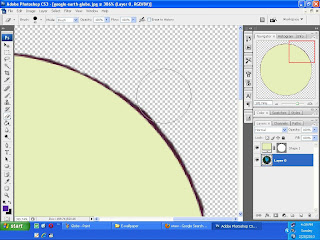
The final picture is picture of the globe. I remove the black background color using the 'magic eraser' tool but the edges become irregular
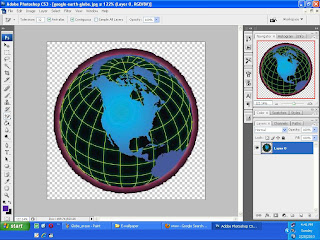
So, to smooth out the edges I created a layer of circle over the globe to use it as guide to remove the irregular edges.
Then I added text and place it at the center of the globe. Finally I merge the Globe and the text to make one single picture.
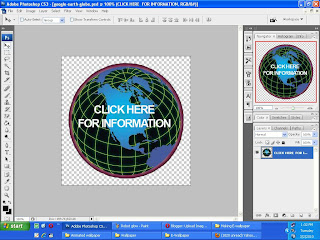
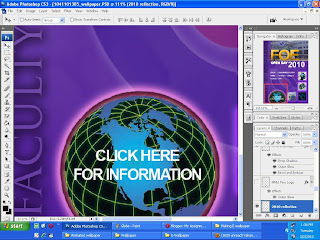
I copy and paste the globe picture on the wallpaper and added 'Outer glow' effect. Then I use 'slice' and 'select slice 'tool to create hyperlink around the text.
After having all the material in the wallpaper, I did animation using the animation option.